Okay, you want to make a wooden serving tray for breakfast in bed? That's a fantastic idea! You know what they say, the way to someone's heart is through their stomach, and a breakfast tray is a pretty romantic way to start the day.
But where do you begin? Don't worry, we're going to break this project down, step by step. You don't need to be a woodworking expert, just a little bit of time and patience.
First, gather your materials!
You'll need:
Wood: This is the heart of your tray, so choose wisely! You could go with something sturdy like plywood, or if you're feeling fancy, a nice hardwood like walnut or maple. Think about the style you're going for, and choose the wood that fits the vibe. For a simple, rustic look, plywood will do the trick. But if you want something more elegant, a solid hardwood will definitely impress.
Wood glue: This is for holding everything together, so get a good quality one. You're going to trust this stuff to keep your breakfast tray from falling apart, so don't skimp on the glue!
Screws: You'll need screws for attaching the handles and any extra bracing you decide on. Make sure the screws match your wood, and that they're not too long to go right through the other side.
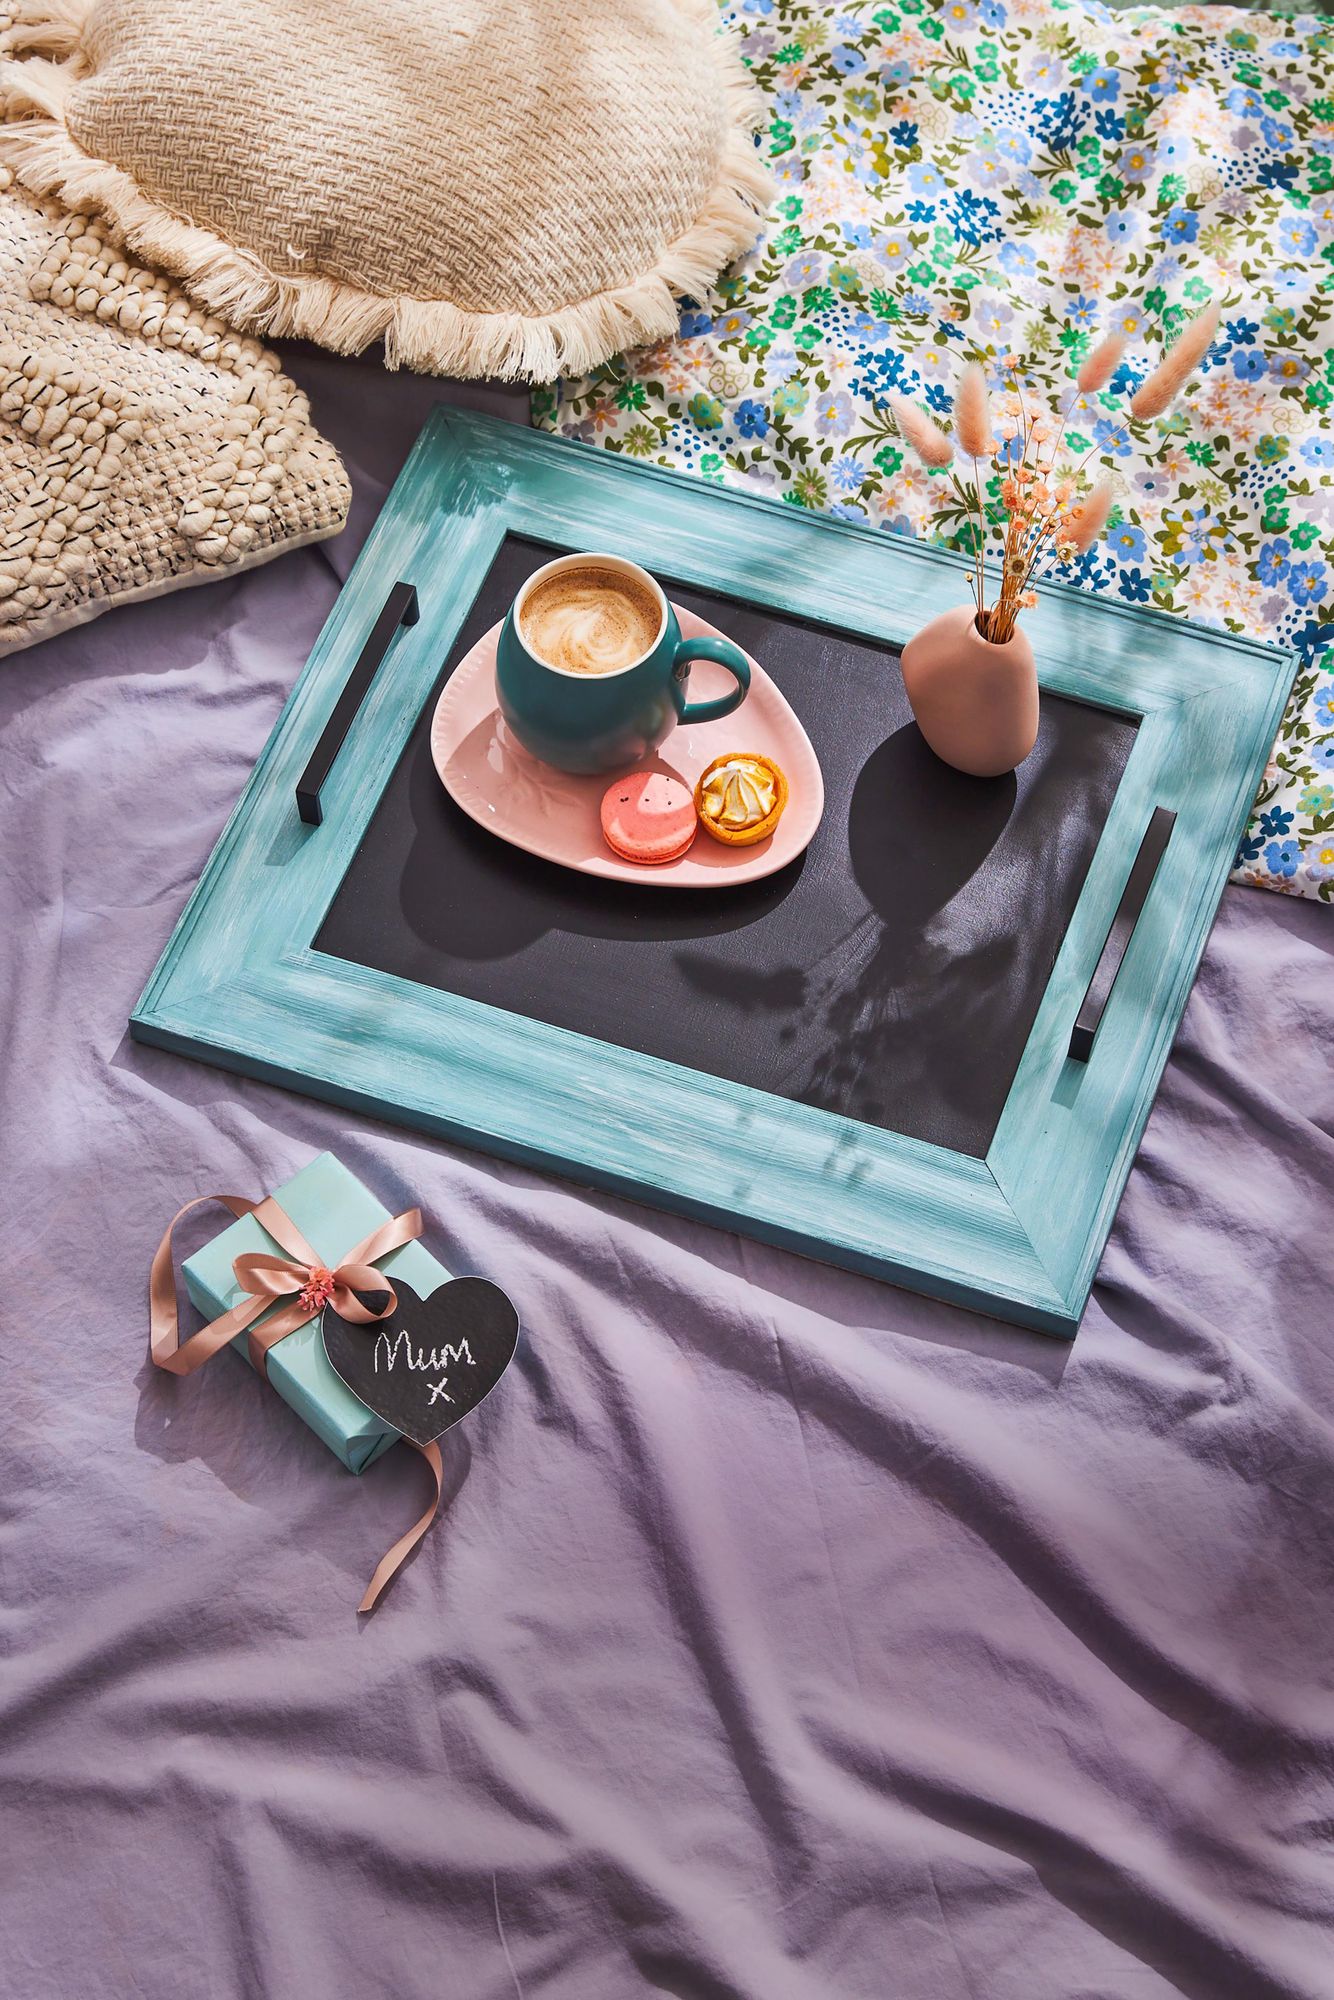
Handles: Here's where you get to be creative! You can find a variety of handles at hardware stores, from simple wooden ones to fancy metal ones. Think about the style you want, and go with it. Maybe you'll want leather straps for a vintage look, or some cute little knobs for a more whimsical feel.
Sandpaper: This is for smoothing out the wood and getting rid of any rough edges. You'll want to use a few different grits, starting with a coarser one to get the main sanding done, and then finishing with a finer grit for a smooth, polished look.
Wood stain or paint: If you want to add color or a finish to your tray, you'll need some wood stain or paint. You can go with a natural wood look, or paint it with a bright, fun color.
Finish: This is the final step, and it will protect your tray from spills and scratches. You can use polyurethane, varnish, or even just wax.
Measuring tape: This will help you get the right measurements for your tray.
Pencil: For marking your wood.
Saw: You'll need a saw to cut your wood to size. A jigsaw is a great choice for curved cuts, but a handsaw will work just fine for straight cuts.
Drill: This is for drilling holes for the handles. If you don't have a drill, you can use a screwdriver and a bit, but it will take a little longer.
Clamps: These are for holding the wood pieces together while the glue dries.
Okay, time to get crafting!
1. Sketch out your design: First things first, decide on the size and shape of your tray. You want something that's big enough to hold your breakfast goodies, but not too big that it's unwieldy. Do you want a traditional rectangular tray or something more unique?
2. Cut your wood: Now you're going to cut your wood to the right size. Use your measuring tape and pencil to mark the wood, and then carefully cut it with your saw. Remember to wear safety glasses and gloves, and work in a well-ventilated area.
3. Assemble your tray: This is where the fun begins! You'll need to glue and clamp the pieces of wood together, making sure they're aligned perfectly. If you're feeling extra fancy, you can add some bracing for extra support, especially if you're using plywood.
4. Attach your handles: Once the glue has dried, you can attach your handles. First, measure and mark the spots where you want the handles to go. Then, drill pilot holes (smaller holes to guide your screws) where you've marked. Now you can screw in your handles.
5. Sanding time: Okay, now you'll need to sand down your tray. Start with a coarser grit sandpaper to smooth out the wood and get rid of any rough edges. Then move on to a finer grit sandpaper for a smooth, polished look.
6. Finishing touches: Now, the fun part! You can add color or a protective finish to your tray. If you're going for a natural wood look, you can use a wood stain to bring out the wood's grain. If you want something bolder, you can paint your tray with your favorite color. And finally, seal it with polyurethane, varnish, or wax to protect it from spills and scratches.
Ready to serve!
And that's it! You've now made your very own wooden serving tray. Now you can enjoy a delicious breakfast in bed, or even use it to serve snacks or drinks at your next gathering. The best part? You made it yourself, which is pretty cool!
But wait, there's more!
Let's talk about making your tray extra special! Here are some ideas to personalize your serving tray:
Add a little flair: Use wood burning tools to create a beautiful design on your tray. You can even try out some intricate carvings!
Incorporate a special touch: Incorporate a special touch by adding a decorative border using inlays or veneers. Think about what you want to symbolize, like a floral border, a simple geometric pattern, or maybe even a family crest.
Get creative with the handles: If you're feeling ambitious, you can even try your hand at carving your own handles! Or you could use an old, well-loved book as a base and secure it to the tray for a unique and rustic touch.
Finish it off with style: Get playful with the finish! Use a glossy polyurethane for a sleek, modern look, or a matte finish for a more rustic vibe.
So, what are you waiting for? Grab your tools and get crafting! With a little effort and creativity, you can make a beautiful breakfast tray that you and your loved ones will cherish for years to come. And the best part? You'll get to say, "I made this!" How cool is that?

0 comments:
Post a Comment
Note: Only a member of this blog may post a comment.