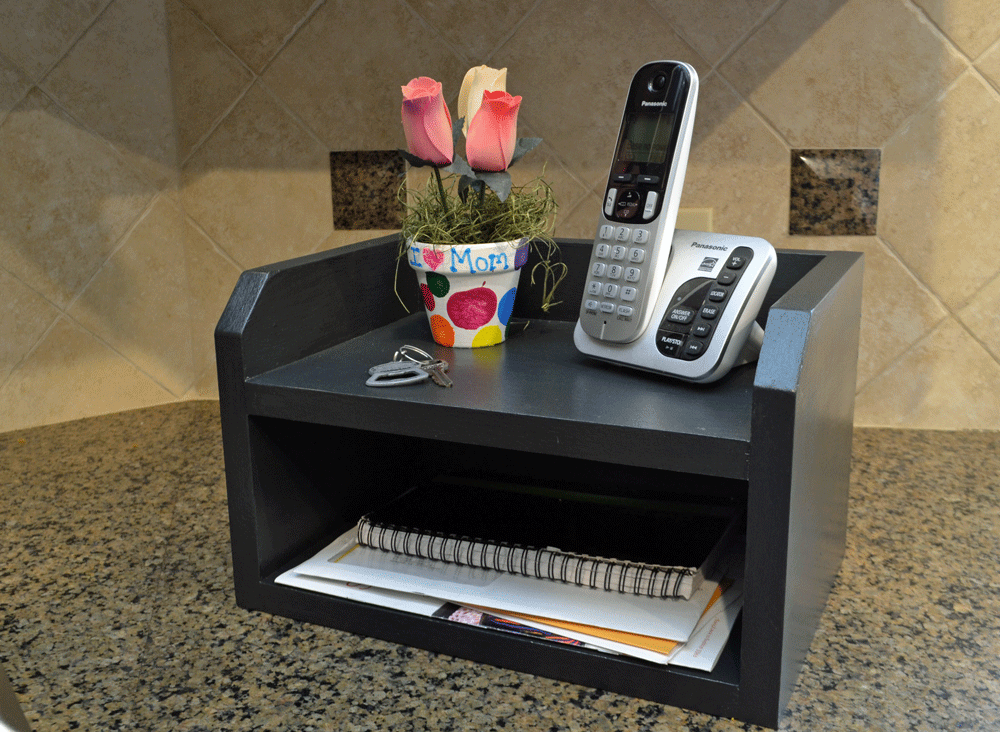
Alright, let's get this mail sorted! Tired of that overflowing pile of mail on your desk? Let's build a beautiful and functional wooden mail organizer that'll tame that paper beast. It's way easier than you think, and it'll add a touch of handmade charm to your office.
Let's Gather Our Supplies
First things first, we need our tools and materials. Grab these from your workshop or your local hardware store:
Wood: We're going for a classic look here, so let's use a nice, solid piece of hardwood. Think oak, walnut, or cherry - whatever suits your style. You'll need two pieces, one for the base and one for the dividers. I like to use a piece about 12 inches wide and 16 inches long for the base, and then a smaller piece about 6 inches wide and 16 inches long for the dividers. You can always adjust the size to fit your needs.
Wood Glue: This is the magic that holds everything together.
Wood Screws: Make sure they're long enough to securely attach the dividers to the base.
Sandpaper: We want a smooth finish, so get a variety of grits, like 80, 120, and 220.
Wood Stain (optional): Want to give it a richer color? Grab your favorite wood stain.
Wood Finish (optional): A clear coat, like polyurethane, will protect your organizer from scratches and spills.
Measuring Tape: For accurate cuts.
Saw: A circular saw or a handsaw will do the trick.
Drill: For those pilot holes before you screw.
Clamps: To hold everything together while the glue dries.
Safety Glasses and Hearing Protection: Always be safe, you cool craftsman, you!
Ready to Build? Let's Do This!
1. Cut the Wood: Start by measuring and cutting the wood for your base and dividers. For the base, I like a nice, sturdy piece about 12 inches wide and 16 inches long. The dividers can be a bit smaller - try 6 inches wide and 16 inches long. Remember, you can adjust these sizes to your liking. Just make sure you've got enough space for all your mail compartments!
2. Shape those Dividers: Okay, now for a little creativity. We need to create those cool dividers that'll separate your mail. I usually go for three compartments: one for bills, one for junk mail, and one for important letters. You can have more or fewer compartments, depending on your needs. Mark where you want the dividers on the smaller wood piece, and then use your saw to cut those neat lines.
3. Sand, Sand, Sand: Smooth out all the rough edges and surfaces with sandpaper. Start with the coarser grit (80) and work your way up to the finer grits (120 and 220) to create a super-smooth finish.
4. Stain and Finish (optional): Now's the time to add a touch of color and protection. If you're using wood stain, apply it evenly to the wood and let it dry completely. Then, apply a couple of coats of your chosen wood finish (like polyurethane) for added durability and shine.
5. Assemble the Organizer: This is the exciting part! Line up the dividers on the base where you want them. Apply wood glue along the edges where the dividers meet the base. Use clamps to hold everything together while the glue dries. Make sure those clamps are nice and tight!
6. Reinforce with Screws: After the glue dries, use your drill to create pilot holes for the screws. This prevents the wood from splitting. Screw the dividers to the base for a solid and secure hold.
7. Let it Dry: Give those screws and glue a little time to fully cure. Once it's dry, you can admire your handiwork!
Finishing Touches
You've created a beautiful and functional mail organizer, but why not take it a step further? Here are a few ideas:
Add Labels: Create some charming labels for each compartment (like "Bills," "Junk," and "Letters") and attach them with a little bit of glue.
Hardware: Spice things up with some decorative hardware like handles or knobs.
Personalize: Add your own personal touch with a touch of paint, decoupage, or even some stenciling.
Time to Sort!
Congratulations! You've created a fantastic mail organizer that'll make your desk look neat and organized. Now, grab those piles of mail and get to sorting! Enjoy the peace of mind that comes with a well-organized office.
A Word of Caution:
Always wear safety glasses and hearing protection when using power tools.
Measure twice, cut once. Accuracy is key for a beautiful result.
Be patient with the drying process. Let the glue and finish cure completely before using your organizer.
So there you have it! With a little bit of time and effort, you can create a beautiful and functional mail organizer that'll make your office life a little bit easier. Now go out there and get building!

0 comments:
Post a Comment
Note: Only a member of this blog may post a comment.