DIY Guide to Building the Perfect Bedside Cabinet
A well-designed bedside cabinet is more than just a storage solution; it’s a functional and stylish addition to your bedroom. Building your own allows you to customize it to fit your exact needs and style preferences, ensuring a perfect fit for your space. This comprehensive guide will walk you through the process of building the perfect bedside cabinet, from planning to finishing touches.
1. Planning Your Bedside Cabinet
Before you grab your tools, it’s crucial to plan out your project. This involves determining the size, style, and features of your ideal bedside cabinet.
1.1. Determine the Size and Shape
Consider the following factors when deciding on the size and shape of your cabinet:
- Available Space: Measure the available space next to your bed to ensure the cabinet fits comfortably.
- Storage Needs: Think about what you’ll be storing in the cabinet. Will you need drawers, shelves, or both?
- Desired Style: The size and shape of the cabinet should complement the overall style of your bedroom.
1.2. Choose Materials and Design
The materials you choose will influence the look, durability, and cost of your cabinet. Some popular options include:
- Plywood: Strong, affordable, and readily available in various thicknesses.
- Solid Wood: Offers a classic look and durability, but can be more expensive.
- Medium-Density Fiberboard (MDF): Smooth surface, easy to work with, and budget-friendly.
Consider the design elements you want to incorporate, such as:
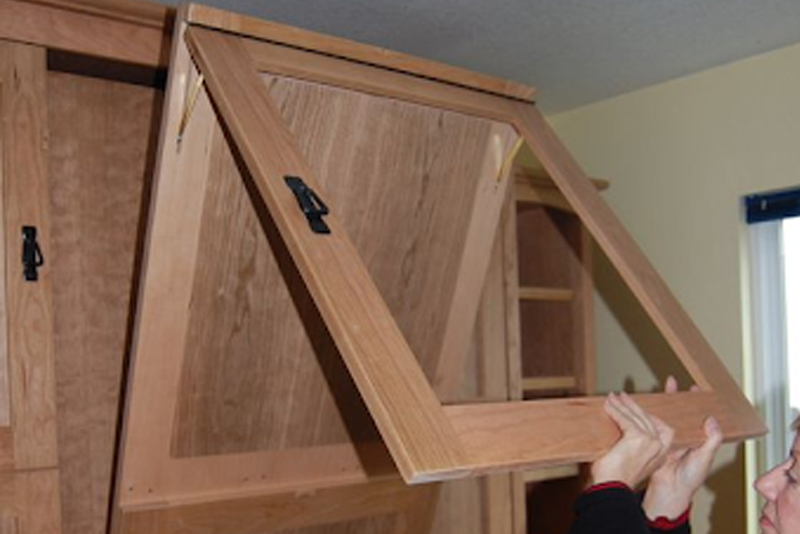
- Doors or Drawers: Decide whether you need doors, drawers, or a combination of both.
- Hardware: Choose handles, knobs, and hinges that match your style.
- Finish: Select a stain or paint that complements the rest of your bedroom furniture.
2. Gathering Tools and Materials
Once you have a clear design in mind, gather the necessary tools and materials.
2.1. Tools
- Tape Measure
- Pencil
- Saw (Circular, Table, or Jigsaw)
- Drill
- Screwdriver
- Clamps
- Sandpaper (Various grits)
- Level
- Safety Glasses
- Dust Mask
- Work Gloves
2.2. Materials
- Wood (Plywood, Solid Wood, or MDF)
- Wood Glue
- Screws
- Finishing Nails (Optional)
- Wood Filler (Optional)
- Stain or Paint (Optional)
- Polyurethane or Varnish (Optional)
- Hardware (Handles, Knobs, Hinges)
3. Building the Cabinet Frame
Start by building the sturdy frame that will support the rest of the cabinet.
3.1. Cut the Pieces
Use your saw to cut the wood into the desired lengths based on your design. Mark the pieces clearly and use a straight edge to ensure accurate cuts.
3.2. Assemble the Frame
Use wood glue and screws to join the pieces together to form the frame. Clamp the pieces securely until the glue dries. Ensure all corners are square and the frame is level.
4. Adding Shelves and Drawers (Optional)
Depending on your design, you can add shelves and drawers to the cabinet.
4.1. Shelves
Cut shelves to size and attach them to the cabinet frame using screws or shelf supports. For added strength, you can also use wood glue.
4.2. Drawers
Building drawers requires more detailed steps.
- Cut drawer sides, front, and back panels to size.
- Join the pieces together to form the drawer box.
- Add drawer slides to the cabinet frame and drawer box.
- Attach the drawer front to the drawer box.
5. Finishing Touches
Once the structure is complete, it’s time to add finishing touches that enhance both the look and functionality of your bedside cabinet.
5.1. Sanding and Filling
Sand the cabinet surfaces with progressively finer grits of sandpaper to create a smooth finish. Fill any gaps or imperfections with wood filler, let it dry, and sand again for a seamless appearance.
5.2. Staining or Painting
If desired, apply a stain or paint to the cabinet. Follow the manufacturer's instructions for application and drying time.
5.3. Applying Protective Finish (Optional)
Protect your cabinet's finish with a polyurethane or varnish. This will create a durable, water-resistant surface.
5.4. Installing Hardware
Attach handles, knobs, hinges, and other hardware. Ensure they are installed securely and aligned correctly.
6. Enjoy Your New Bedside Cabinet
Your new bedside cabinet is now ready to be enjoyed! Place it next to your bed, organize your belongings, and admire your handiwork. With its unique design and thoughtful features, it will become a treasured addition to your bedroom, offering both practicality and style.

0 comments:
Post a Comment
Note: Only a member of this blog may post a comment.