DIY Wood Wall Clocks: Unique Gifts for Every Occasion
Looking for a thoughtful and personalized gift that's sure to impress? Look no further than a DIY wood wall clock! These charming timepieces add a touch of warmth and character to any space, and they're incredibly versatile. Whether you're celebrating a birthday, housewarming, or just want to show someone you care, a handcrafted wood clock is a unique and meaningful present that's sure to be cherished for years to come.
Why Choose a DIY Wood Wall Clock?
There are many reasons why DIY wood wall clocks make such wonderful gifts:
- Uniqueness: Each clock is a one-of-a-kind creation, reflecting your personal touch and the recipient's taste.
- Personalization: Customize the design with special colors, engravings, or even family photos, making it an extra-special treasure.
- Thoughtfulness: The time and effort you put into crafting the clock will be truly appreciated by the recipient.
- Sustainability: By using wood, you're opting for an eco-friendly material that adds a touch of natural beauty to the home.
- Affordability: Compared to store-bought clocks, DIY versions are surprisingly budget-friendly, letting you save money while creating something truly special.
Getting Started: Essential Supplies and Tools
Before you begin your crafting adventure, gather the necessary supplies and tools. You'll need:
- Wood: Choose a sturdy wood like plywood or MDF for the base of your clock. Pine and birch are also popular choices.
- Clock Mechanism: This includes the hands, the movement, and a mounting nut. You can find these at most craft stores or online.
- Sandpaper: Use different grits (fine and coarse) to smooth out the wood and create a polished finish.
- Wood Stain or Paint: Opt for a color that complements the recipient's decor or reflects their personal style.
- Brushes or Sprayer: These will help you apply stain or paint evenly.
- Clear Coat: A protective layer of sealant, like polyurethane, protects the wood and enhances its longevity.
- Drill and Drill Bits: Necessary for making the hole for the clock mechanism and any decorative elements.
- Pencil: For marking out design elements and making measurements.
- Measuring Tape: To ensure accurate sizing and placement of components.
- Safety Glasses and Gloves: For protecting yourself while working with power tools and wood.
Design Ideas: Unleash Your Creativity
The beauty of DIY wood wall clocks lies in the endless design possibilities. Let your creativity flow and personalize your clock according to your preferences. Here are some inspirational ideas to get you started:
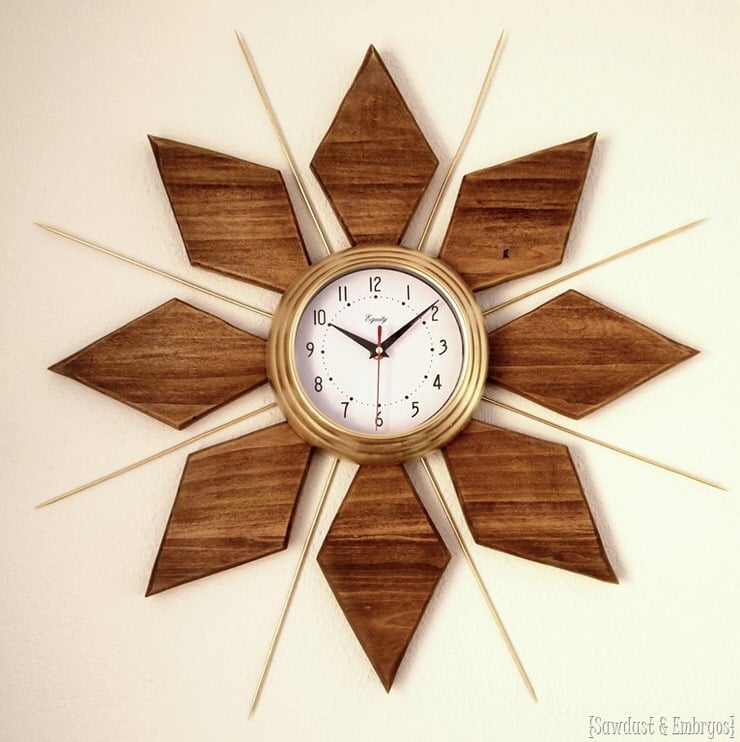
- Geometric Patterns: Create a striking visual with bold geometric shapes cut from wood and arranged in a unique design.
- Natural Elements: Incorporate elements like wood slices, bark, or dried flowers for a rustic and organic look.
- Personalized Messages: Engrave a meaningful quote, a loved one's name, or a special date for a truly sentimental touch.
- Upcycled Wood: Give old wooden pieces a new life by incorporating them into your clock design.
- Family Photos: Create a unique photo clock by using a wood base as a frame for favorite family pictures.
Step-by-Step Guide: Crafting Your Masterpiece
Once you've gathered your supplies and chosen your design, it's time to craft your wood wall clock. Follow these steps for a successful project:
1. Prepare the Wood Base:
Cut the wood to your desired size and shape. Sand the edges and surfaces thoroughly to create a smooth, even finish.
2. Apply Stain or Paint:
If you're using stain, apply a thin layer to the wood and allow it to dry completely. For paint, apply two coats, letting each layer dry before applying the next.
3. Design and Cut:
If your design includes intricate shapes or cuts, use a jigsaw or scroll saw to cut out the desired shapes. Be sure to wear safety glasses and work carefully.
4. Add Decorative Elements:
Apply any additional decorative elements like wood slices, beads, or small metal pieces. Secure these using glue or screws.
5. Attach the Clock Mechanism:
Use a pencil to mark the center of the clock base. Drill a hole large enough to accommodate the mounting nut. Secure the clock mechanism in place using the provided nut.
6. Apply a Protective Coat:
Finish the clock by applying a layer of clear coat, such as polyurethane, to protect the wood and enhance its durability.
7. Hang Your Clock:
Attach a hanger or hook to the back of the clock for easy hanging.
Crafting Tips for Beginners
Making a wood wall clock is a rewarding experience, even for beginners. Here are a few helpful tips:
- Start Simple: If you're new to woodworking, begin with a basic design and gradually work your way up to more complex creations.
- Practice on Scrap Wood: Test your cutting and sanding techniques on scrap pieces of wood before working on the actual clock base.
- Use Templates: Utilize stencils or templates to help you create precise shapes and patterns.
- Seek Inspiration: Browse online and in magazines for ideas and techniques to spark your creativity.
Beyond Gifts: DIY Wood Wall Clocks for Your Home
Not only are DIY wood wall clocks fantastic gifts, but they're also a wonderful way to personalize your own home decor. Create a statement piece for your living room, a cozy clock for your bedroom, or a whimsical timepiece for your child's room. The possibilities are endless!

0 comments:
Post a Comment
Note: Only a member of this blog may post a comment.